As the climax of our participation in the MultiversX Hackathon, we’re thrilled to introduce a groundbreaking feature on Calileo – the ability to claim your Data NFT, developed in collaboration with Itheum. This step-by-step guide, complete with screenshots, will walk you through this user-empowering process.
Step 1: Purchase an Ethos NFT from secondary
Head to the Xoxno Ethos NFT’s page and make your purchase to whitelist your wallet in Calileo. This is the only way for now to exclusively try the app on MultiversX devnet.
Step 2: Get devnet eGold (xEGLD)
Get your xEGLD using the MultiversX web wallet faucet here. This will help sign the transaction to enter the Calileo dApp.
Step 3: Connect to Your Wallet
Begin by visiting https://try.calileo.co and connecting to your wallet, setting the stage for an intuitive, user-centric experience.
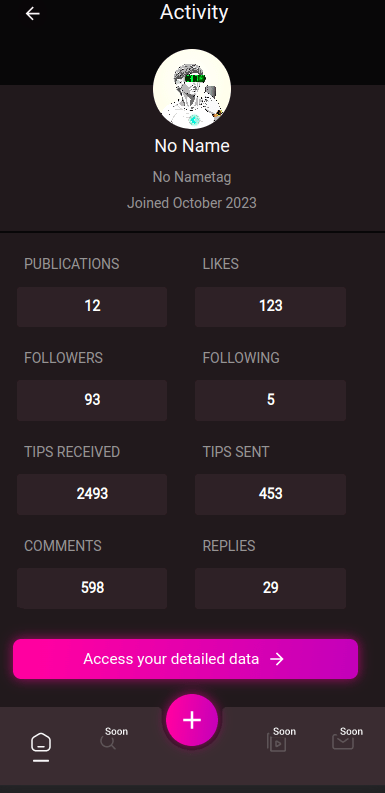
Step 4: Dive into the ‘Activity’ Section
Once connected, navigate to the “Activity” option in the sidebar menu, your starting point to a world of data ownership and privacy.

Step 5: Unravel Your Detailed Data
Click on “Access your detailed data,” unveiling an in-depth overview of your interactions and engagements on the platform.
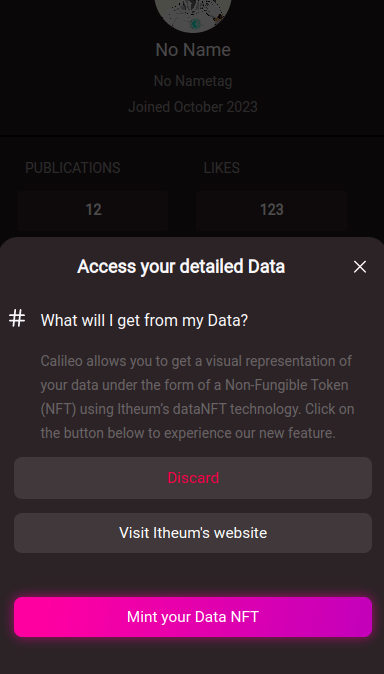
Step 6: Mint Your Data NFT
The journey to data ownership starts with a click on “Mint your Data NFT,” initiating the transformation of your data into a digital asset.
ℹ️ You need to make sure that you own ITHEUM tokens before claiming your data NFT. The app is currently on devnet — to claim your devnet ITHEUM token, follow these simple steps on their documentation page “Getting ITHEUM devnet tokens via the Data DEX – MultiversX Devnet”.
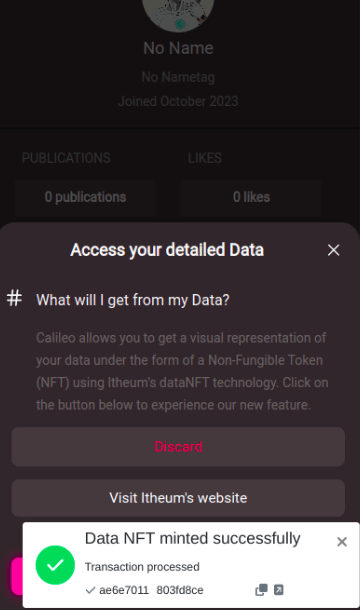
Step 7: Validate the Transaction
Transition to the “MultiversX DeFi Wallet” tab to authenticate the transaction or opt for other supported wallets like xPortal for signature validation. (Make sure to have at least 20 ITHEUM in your wallet).

Step 8: Explore Itheum’s Platform
Post-transaction, click on “Visit Itheum’s website” which will guide you to a realm where data privacy and ownership come to life.
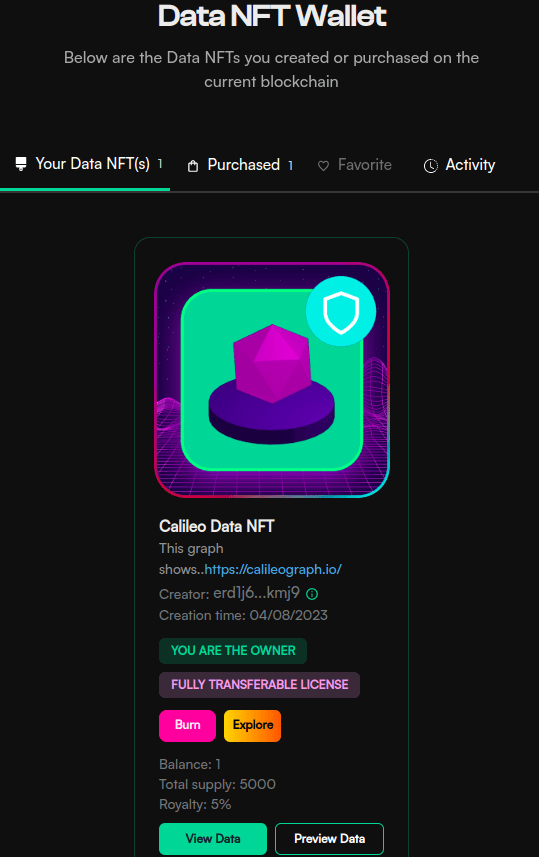
Step 9: Venture into Itheum’s Wallet
On the Itheum platform data DEX, head to “Wallet” to inch closer to your Data NFT unveiling.

Step 10: Visualise Your Data NFT
Click on “View Data” to explore your personalised Itheum x Calileo Data NFT, a digital representation of your engagement and interactions.
⚠️ On devnet, “view” and “preview” data aren’t available yet. But you can see a hint of what it will look like once we go mainnet here.
Step 11: Deep Dive into Data Ownership
Download and delve into your Data NFT, a treasure trove of insights, interactions, and digital assets.
In the spirit of innovation fostered by the MultiversX Hackathon, we partnered with Itheum to birth this feature. Each step, complemented by a screenshot, ensures a user-friendly journey from the onset to the pinnacle of data ownership.
Embark on this intuitive journey, immerse in the novelty of personalised data ownership, and experience the revolution engineered at the confluence of Calileo’s innovative strides and Itheum’s technological prowess. Your digital interactions are not just personal; they’re owned, private, and incredibly empowering. Happy minting!